Work In Progress
Creating Mods
Creating Mod Packs
In the mod browser, click the Create new mod button to open the mod pack creator. 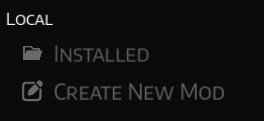
Enter a mod name, author, and description. You can also add a thumbnail if you’d like. 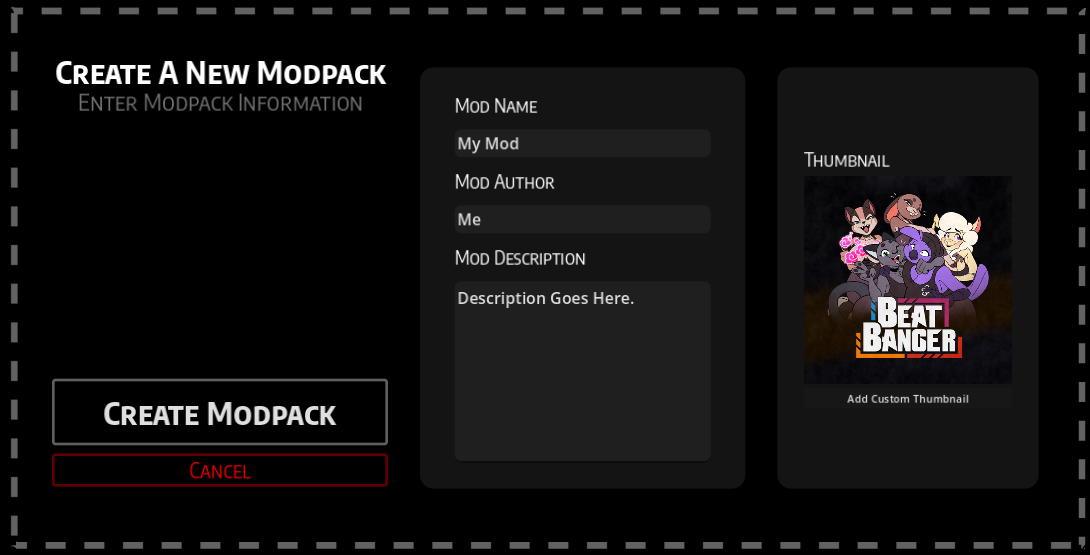
When you're ready, click Create Mod Pack. It should now appear in your list of installed mods. 
To start editing it, click the pencil icon, and you’ll be taken to the level editor. ![]()
Level Editor guide
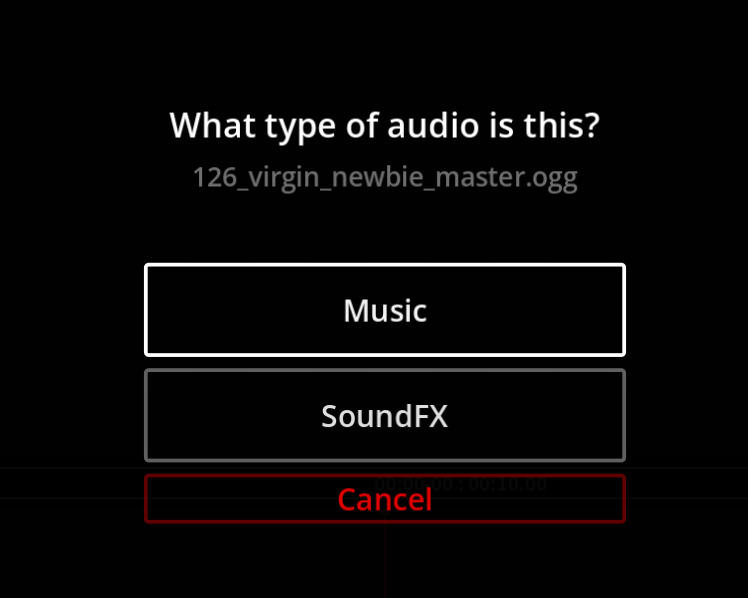
Like most assets, you can add music by dragging it into the game window and then choose Music.
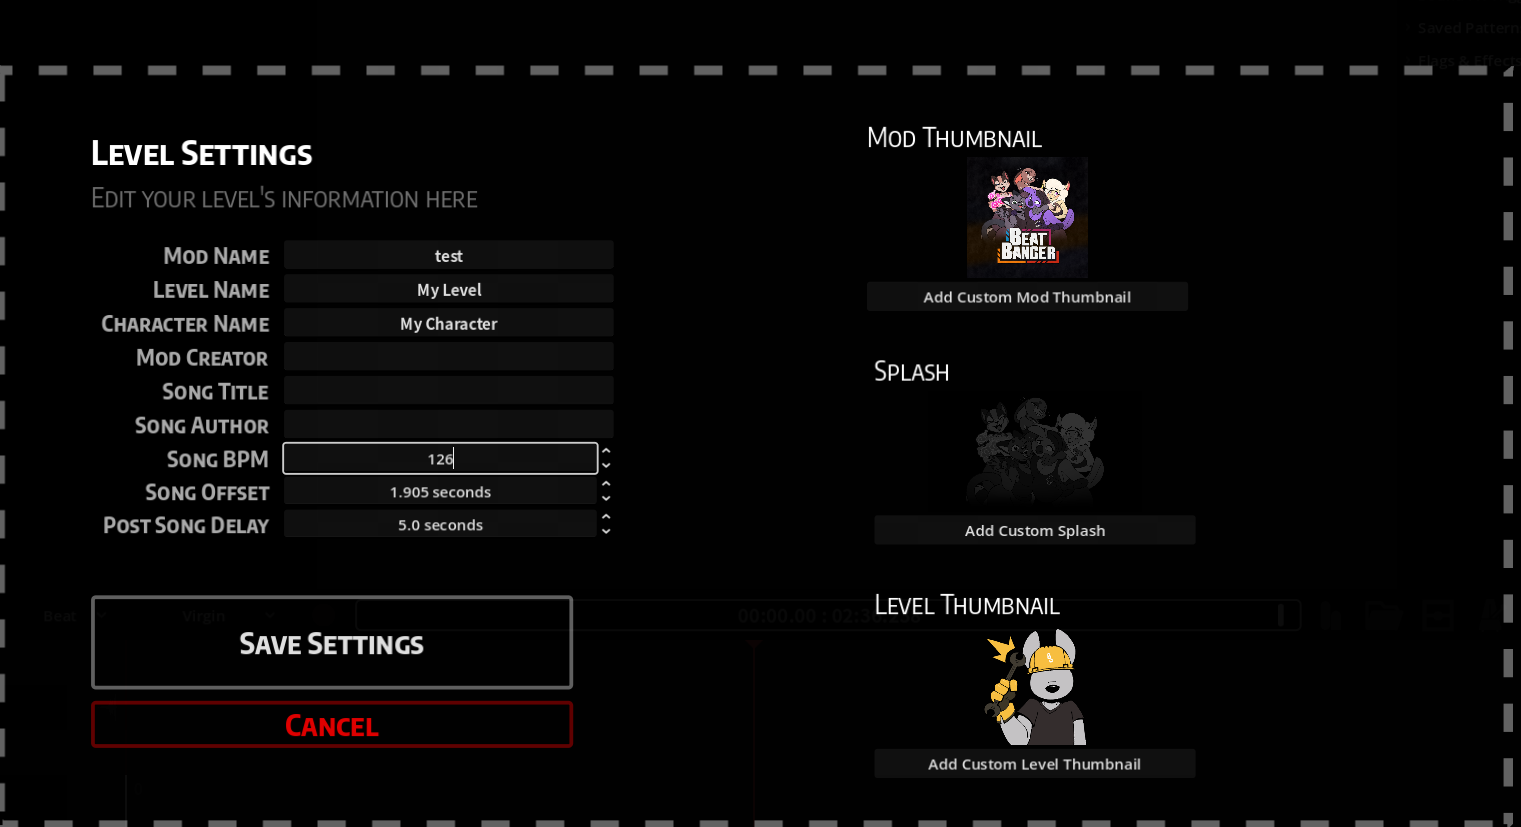
click the gear icon for level settings to set the BPM and tweak the offset until everything lines up with the song.
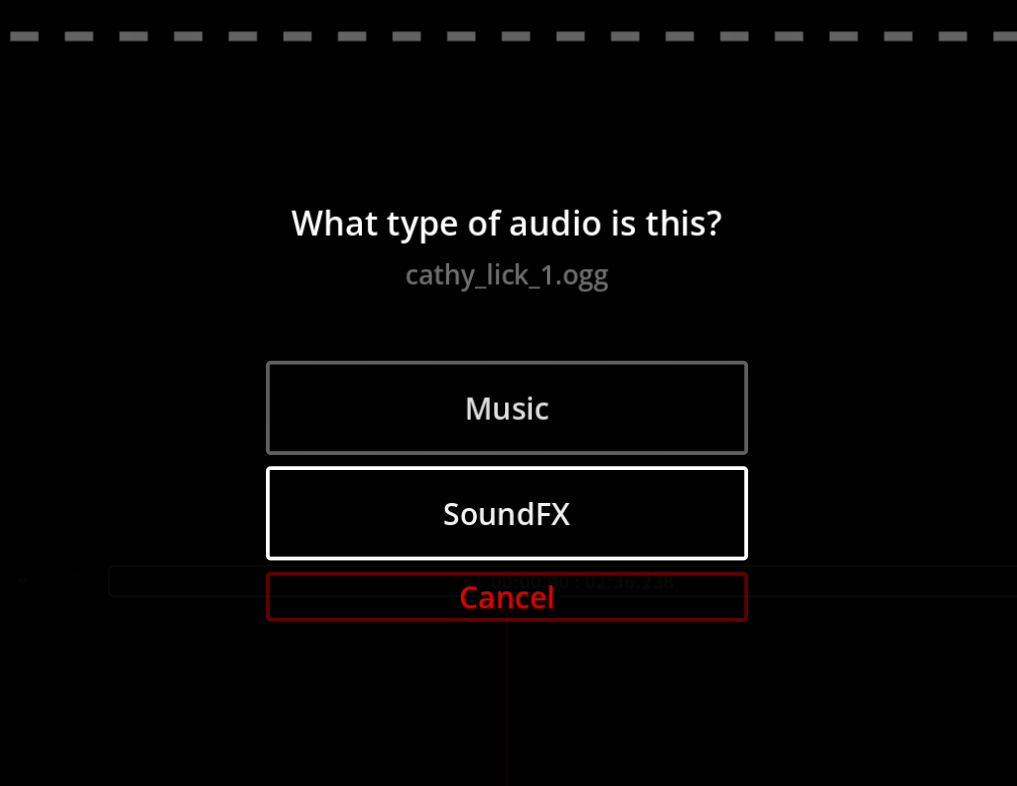
Next, drag in any extra audio you want to use and select SoundFX.
For your visual assets, drop them in as well. If its a sprite sheet, the game will ask how many frames you have horizontally, veritically, and total so it can play the animation. Once you set them properly it should show up properly in the preview.
![]()
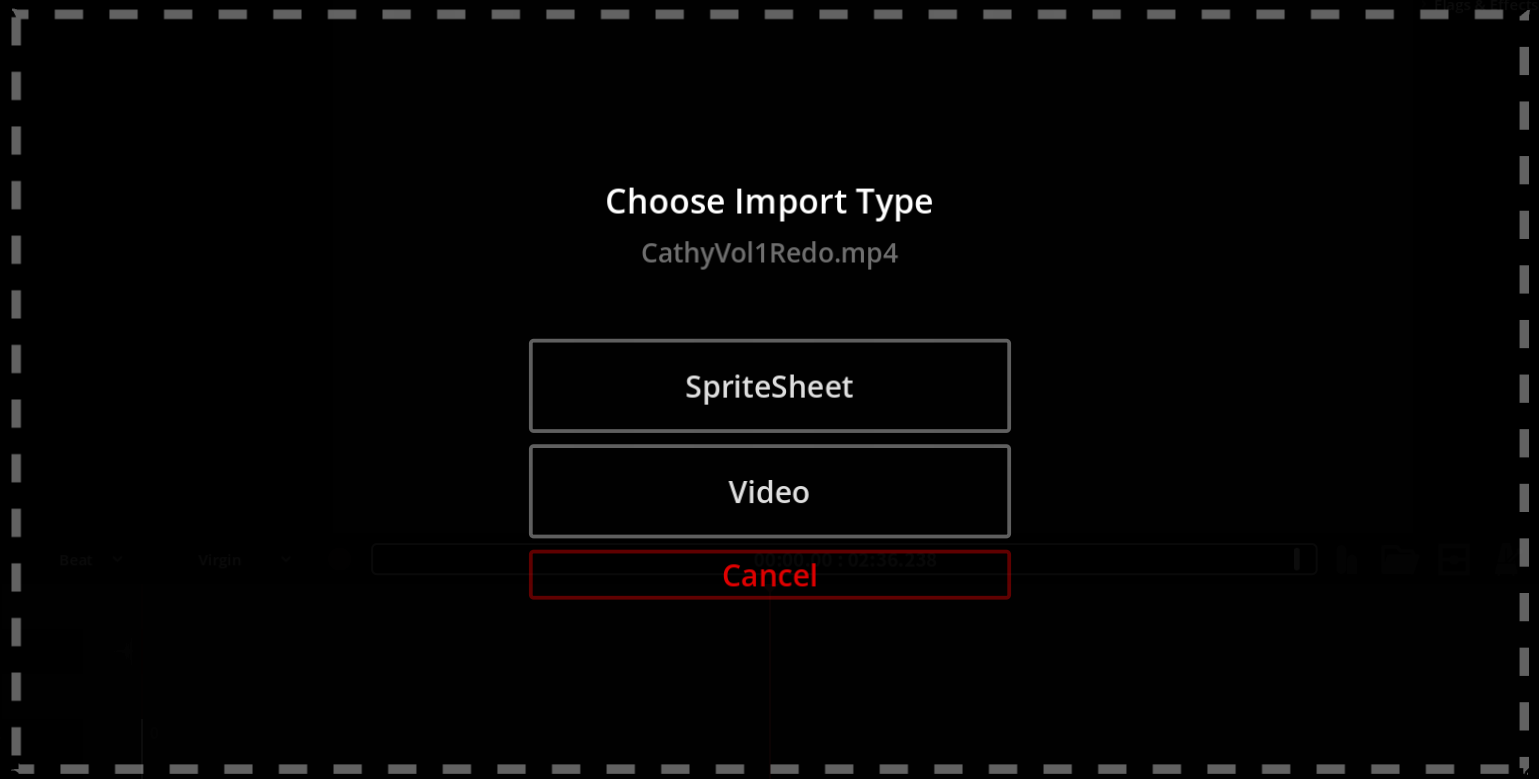
If you have a video or gif you can pick Spritesheet for beat-synced visuals without sound, or Video if they don’t need to sync and want the sound. The game uses FFMPEG to convert your file for the game, so this process can take a while and the game may appear to freeze. If you have a long video, you can crop it to the part you need or cut it up in a video editor into smaller videos to make the import process easier.
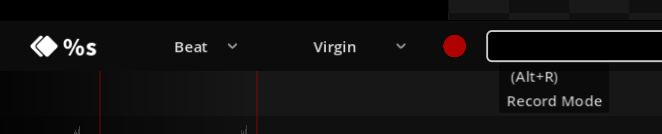
To begin charting, hit the red Record button to place notes. Press Space to preview the level while you chart. You can adjust timing using the Beat dropdown, which lets you place notes on 1/2, 1/3, 1/4, 1/6, and 1/8 beats.
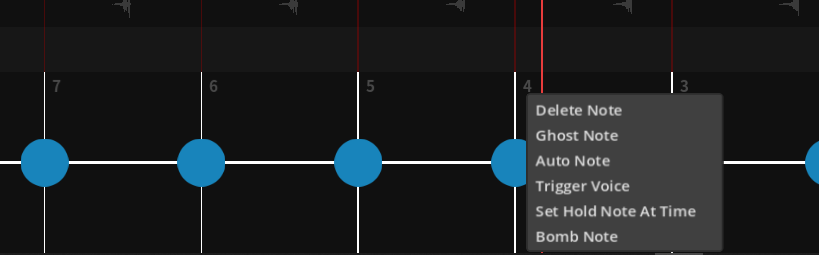
Right-click a note to change its type, turning it into a hold note for example.
When your chart feels good, drag animations onto the timeline where you want them. Do the same with your sound effects. Use the star icon to add effect animations that play on top of everything else.
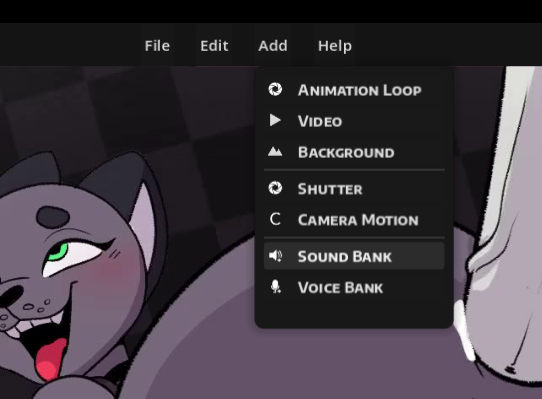
If you need looped sound effects, under the add tab click the speaker icon to create a sound bank, select 1 or more soundsto add to it. You can also edit it with sounds, and then drag it onto the timeline.

For camera work, use the scroll wheel and clicking and dragging in the preview window to adjust the camera, and use the add menu to add the camera movement to the timeline. Use right click to reset the camera to default.

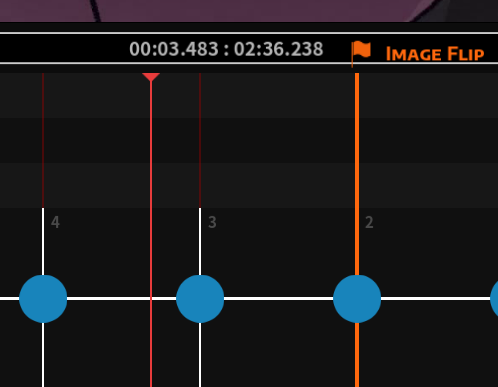
You can also drag flags and effects in for flipping the image ,or ending a level early if needed.
Most assets and effects can be dragged around the timeline and can be deleted using right click on them.
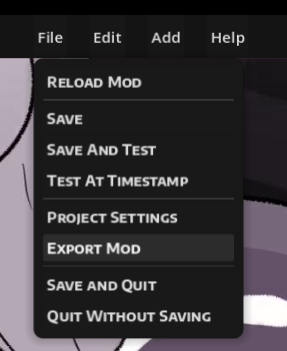
When everything looks right, press Escape to open the menu and choose Export Mod.
Layout
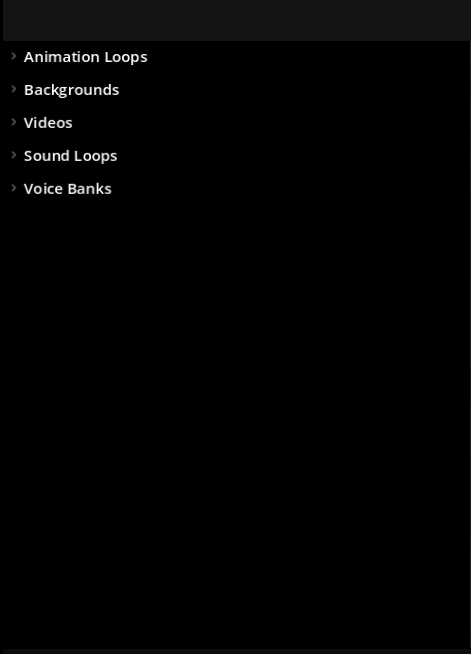
Top-left:
- Animation loops
- Videos
- Sound loops
- Voice banks
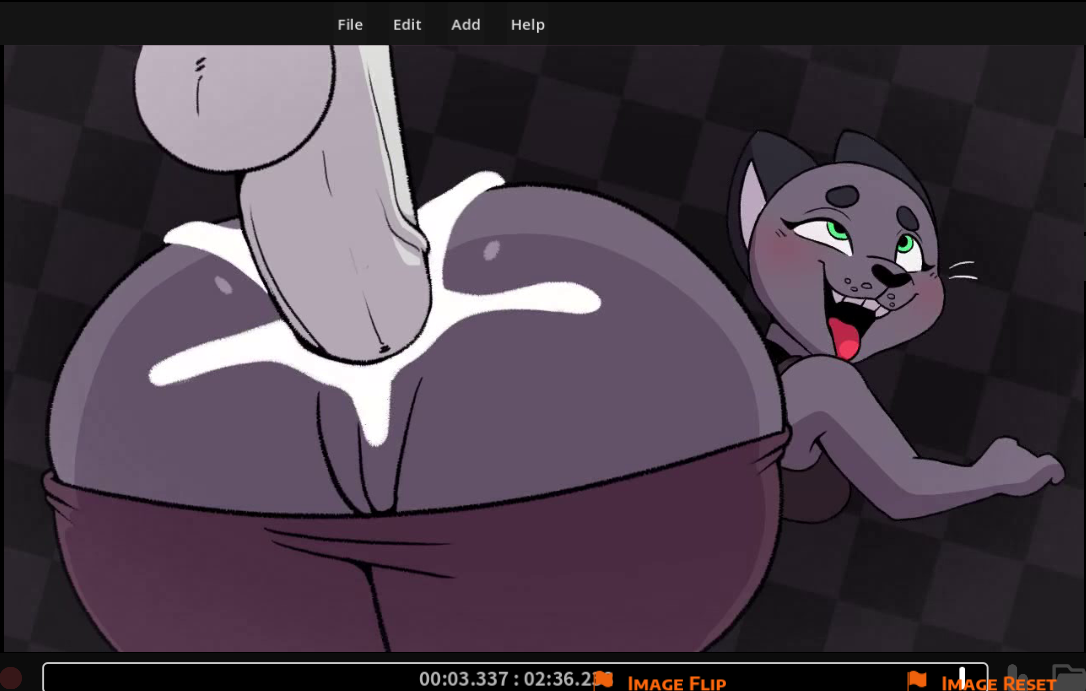
Center (Preview window):
- Preview window
- Camera zoom function
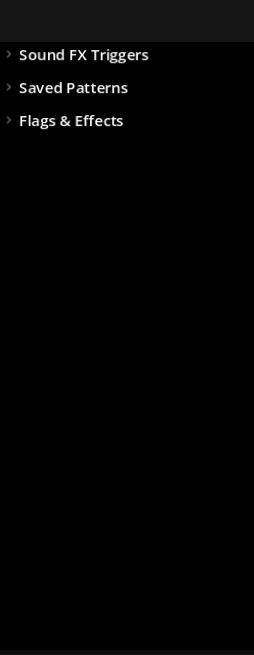
Top-right:
- Sound FX
- Saved note patterns
- Flags and effects
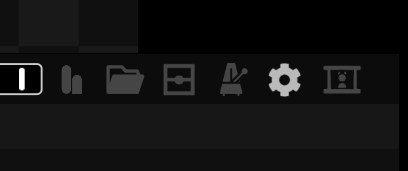
Middle taskbar (left to right):
- Current shot you’re on
- Beat selection
- Current difficulty
- Record button
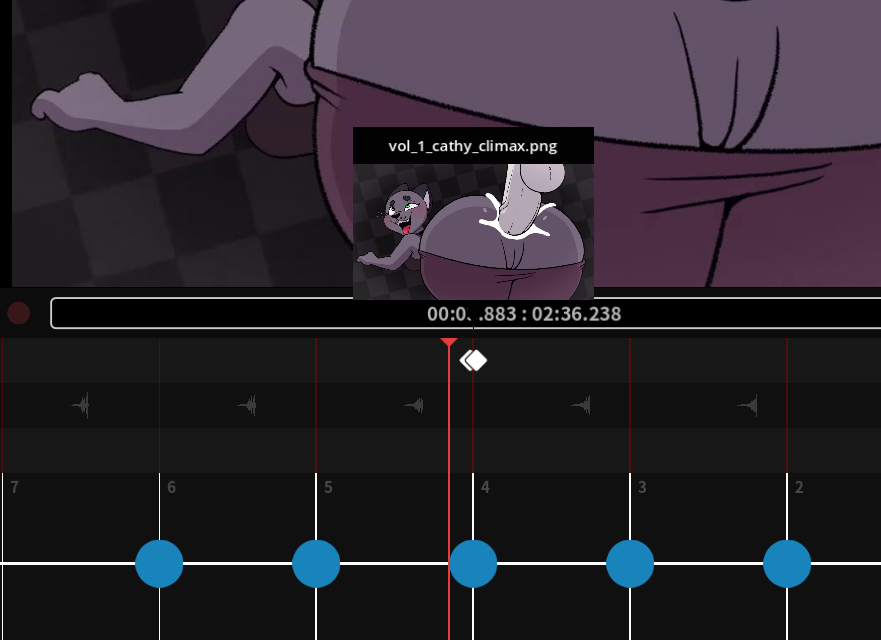
- Seek bar
- Toggle for sex toys
- Button to open your mod folder
- Toggle to show/hide a mockup of the game overlay
- Metronome toggle
- Button for project settings
- Button to create cutscenes

Bottom (Timeline):
- Timeline showing beats
- flags
- effects
- notes
- animations
- sounds

Top Left Menu
Your animation loops, videos, sound loops, and voice banks are all here inside their respective foldable menues.
Animation Loops
Animation loops can be created in two ways:
Importing media files
- Drag a
.gif,.mp4,.ogv, or.webminto the game window. - For
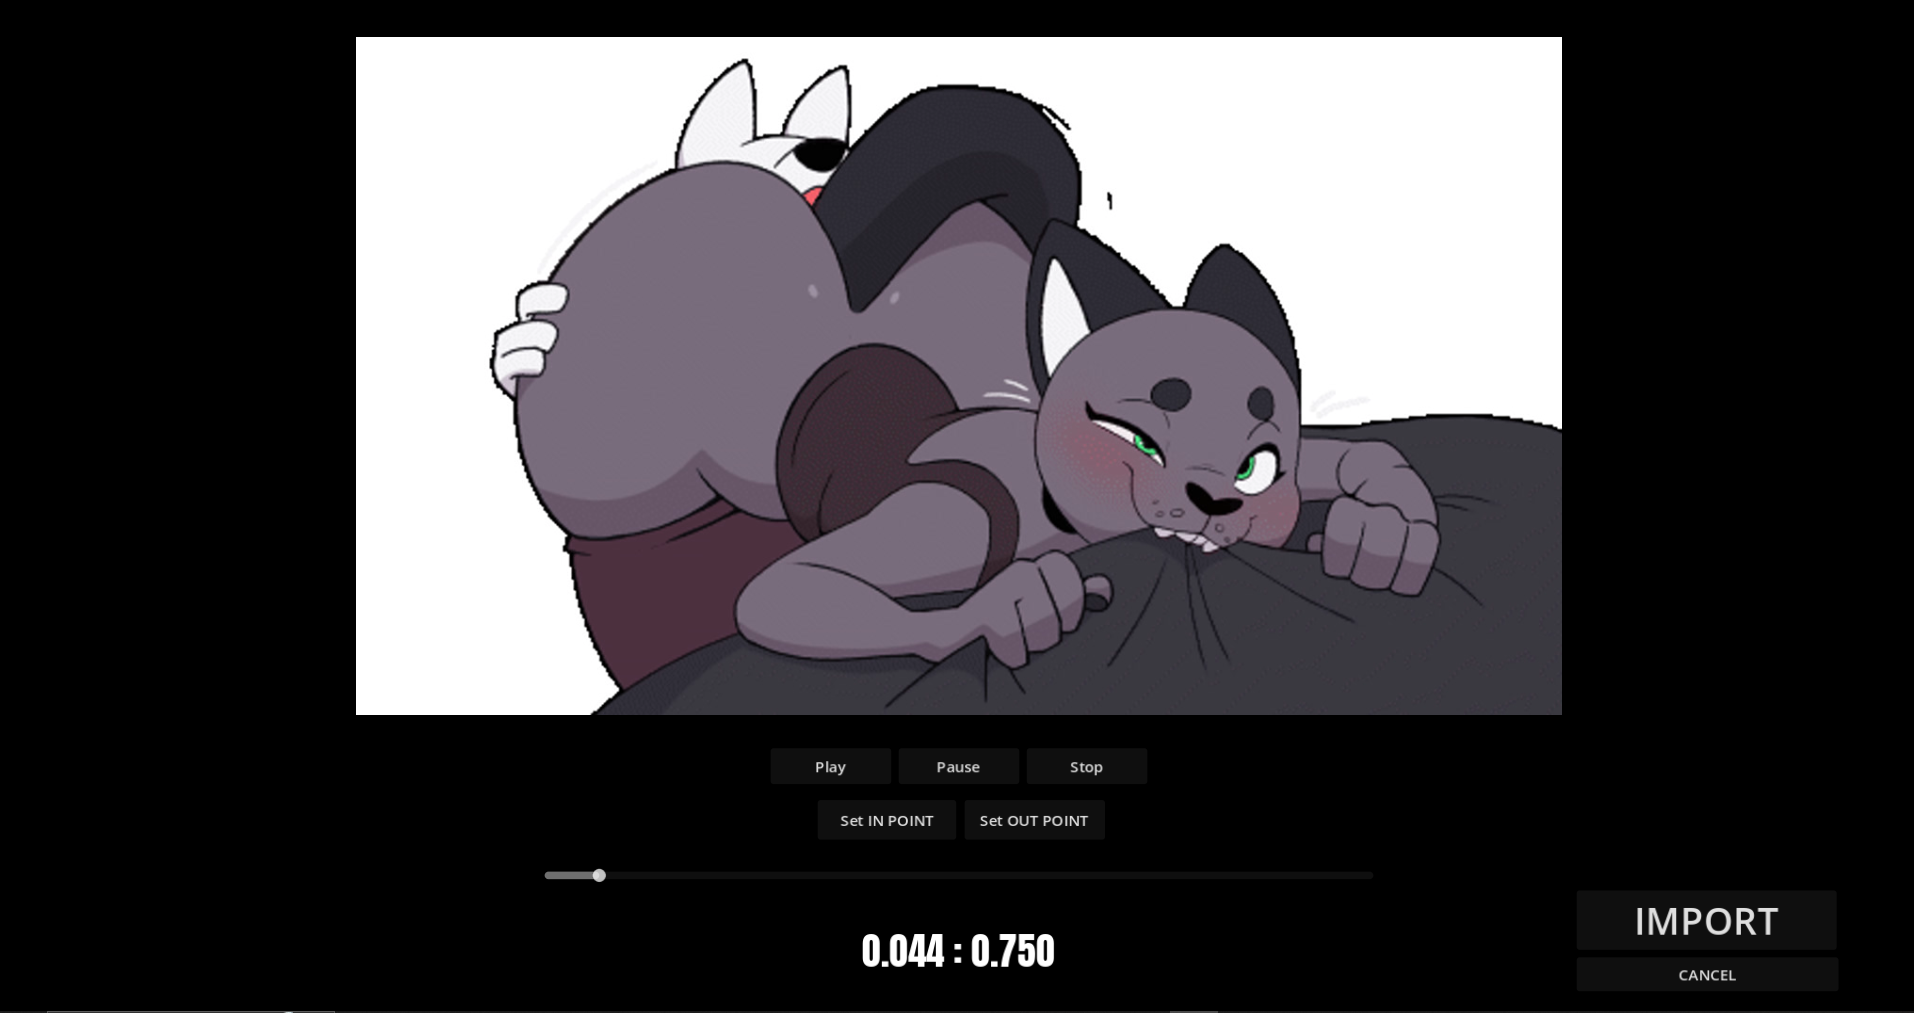
.mp4,.ogv, or.webm, the game will ask whether you want to import it as a Video or Spritesheet. Choose Spritesheet to create an animation loop. - The animation will import and show a preview. You can then set the in and out points for your loop. The in point marks where the loop starts, and the out point marks where it ends.
- Drag a
Using a sprite sheet
- Drag a sprite sheet file (
.png,.jpg, or.webp) into the game window. - A popup will appear where you can specify the horizontal, vertical, and total frames.
- Example: If your sprite sheet is 3x4 but only contains 10 sprites, set 3 horizontal, 4 vertical, and 10 total frames.
- Drag a sprite sheet file (
Placing animation loops
- Drag and drop the animation into the timeline. It will play whenever it hits a note.
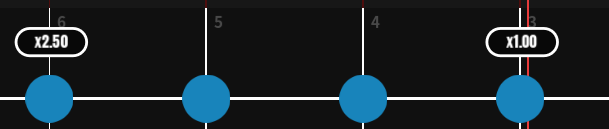
- The shorter the distance between notes, the faster the animation plays; the longer the distance, the slower it plays.
- Right-click an animation in the timeline to delete it.
Effect loops
- Click the star icon on an animation to place it as an effect loop.
- Effect loops are useful for animations you don’t want to show on every note.
- Example: You might want certain effects to appear only on every other note or just on the last notes of a sequence.
Videos
videos can be made by dragging in a .mp4, .ogv, and .webm file into the game window and selecting the video option. Videos play at their set speed independent of notes and beat and will only end once it reaches the end of the video. They arent as versitile as sprite sheets, since they dont loop on their own, but can be good for ending or starting a level. to use them, drag the video into the timeline and it will play as soon as the level reaches that note.
Sound Loops
Sound loops can be made by clicking the speaker icon at the bottom of the left menu. This will make an empty sound bank for you to use and add sounds to. Click on the edit icon (pencil) to open a menu where you can add sounds into it. to place it, drag and drop it into the timeline where you want it to start. The sound loop will play the sounds inputed in order at each loop. This is useful so you dont have to manually add a sound at each beat, the loop will handle that for you.
Voice Banks
voice banks can be made by clicking the mic icon at the bottom of the left menu. This will make an empty voice bank for you. Click on the edit icon (pencil) to open a menu where you can add sounds into it. to place it, drag and drop it into the timeline where you want it to play.
Preview Screen
The preview screen shows how your level will appear during gameplay. It also includes the camera controls, letting you zoom and pan around your animation. While hovering over the preview, use the scroll wheel to zoom, and hold the left mouse button to pan. Right-click to reset the camera position. Once you have the camera framed the way you want, press the camera button, use the add menu, or use Shift + C to place it on the timeline. This is useful for focusing on a character’s face or emphasizing specific parts of an animation.
Top Right Menu
Your Sound fx triggers, saved note patterns, and flag and effects are all here inside their respective foldable menues.
sound fx triggers can be made by dragging in a .ogg, .mp3, or .wav file into the game window and selecting soundFX. You can then place it, by clicking and dragging it onto the timeline. You can then remove it by right clicking it on the timeline. This is useful for when you want to place the audio manually in your level. For instance you can have a small dialouge clip at the start of a new shot.
Note patterns can be added by........They allow you to save a pattern of notes to reuse at a similar part to a song.
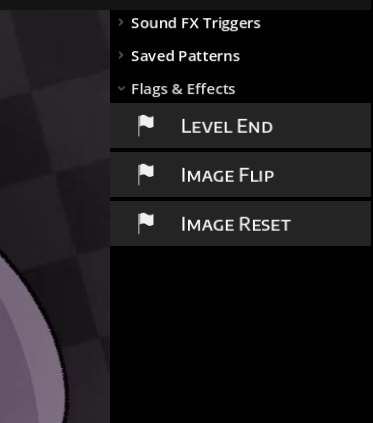
Flags and effects can be added to the timeline by clicking and dragging them onto the timeline. They can be removed by right clicking it. These each do something special such as ending the level and flipping the animation.
Task Bar
This bar holds an indicator for the current shot your on, the beat selection, which difficulty your on, The record button, the seek bar, a toggle for sex toys, a button to open your mod folder, a toggle to show and hide a mockup of the game overlay, a toggle for a metronome, a button to open project settings, and a button to create cutscenes.
the current shot incicator shows what shot you own, each animation loop you put into the timeline counts as a shot.
beat selection allows you to select between full to eighth notes, giving your precision on how close you want your notes, and can be switched at any time. So one section may be best suited for 1/8 notes ,but full notes work for the rest of the song.
difficulty selection allows you to swap your charts to different difficulties from inside of the level creator.
the record button is needed to place notes. once its active, pressing the note buttons will place it to the nearest beat on the timeline. So activate it, use space bar to preview your level, and press the notes as you listen to the music.
the seek bar allows you to see where you are at in the song, and allows you to scroll through the song as well.
the sex toy toggle allows you to test sex toys on the fly.
The open mod folder button does what it says, its useful for finding files you have in the mod if needed.
The overlay button allows you to see if the game ui will get in the way of your animation.
The metronome button toggles a sound that plays at each beat, allowing you to better hear the beats over the music and sounds.
The Project settings allow you to change the level name, character name, mod creator, song title, song author, song bpm, song offset, and post song delay
The cuscene button allows you to make and edit your own pre and post level cutscenes. If you want a little more story, or to make your own pseudo campaign feel connected.
Timeline
The timeline is where you can see your notes, effects, sounds, flags, videos, and animation loops. you can drag your sounds, animations, and effects around and delete them with rightclick. Notes can be selected by holding left mouse, and can be copied and pasted with ctrl+c and pasted with ctrl+v. right clicking on notes opens a menu to set it to different note types. middle mouse can be used to scroll through the timeline.